
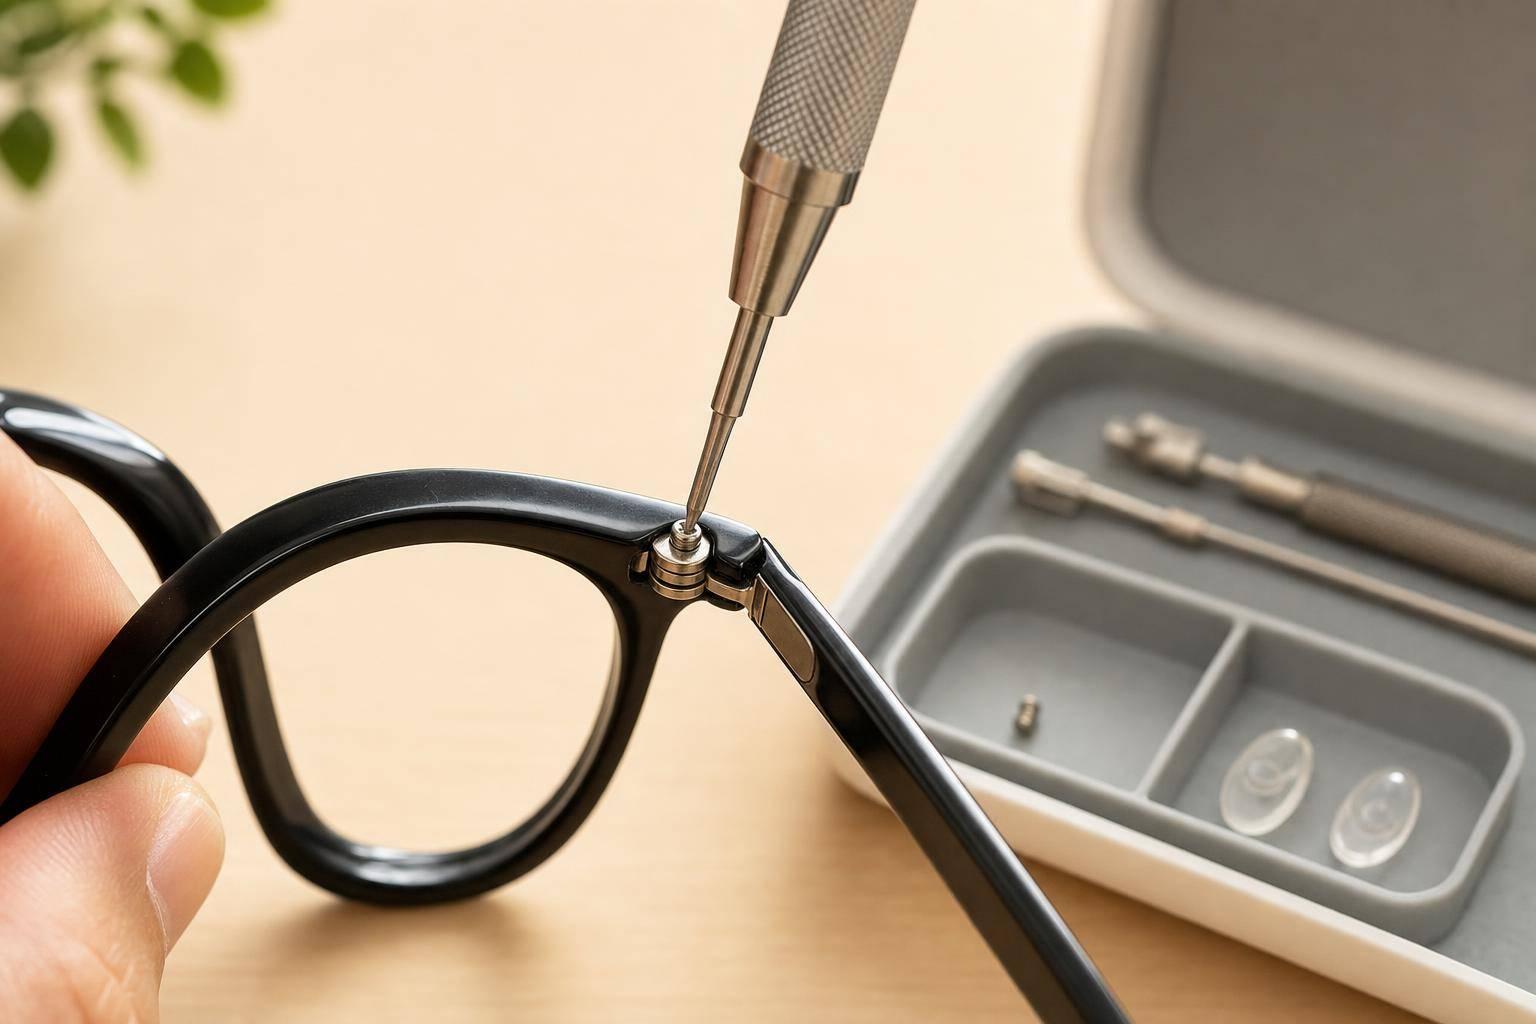
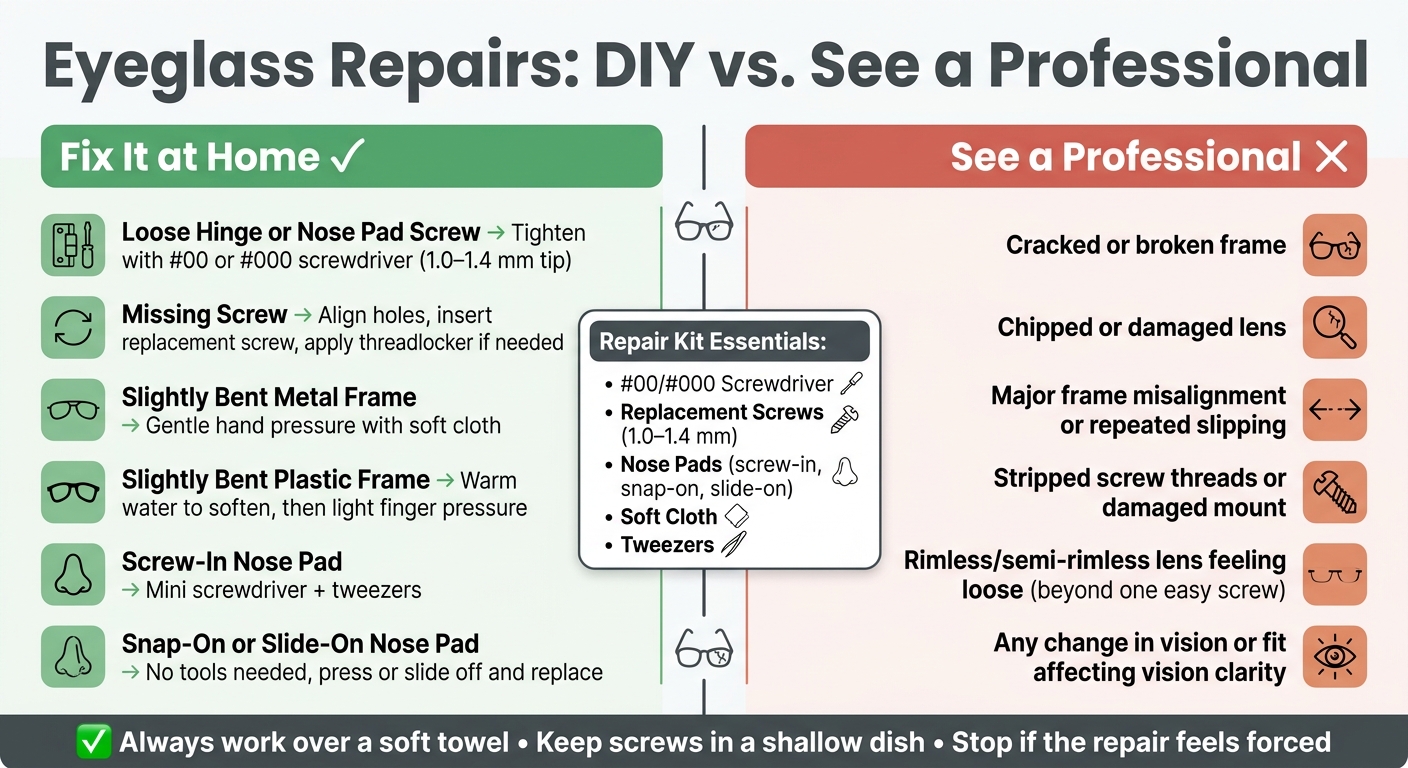
Most eyeglass fixes at home come down to 3 jobs: tightening a loose screw, swapping a missing screw or nose pad, and making a small frame adjustment. If your frame is cracked, your lens is chipped, or the glasses still sit wrong after a light fix, I’d stop and take them to an optician.
Here’s the short version:
- I use a small eyeglass screwdriver for loose hinge and nose pad screws
- I replace missing screws only after lining up the holes
- I fix slightly bent arms with light pressure
- I replace screw-in, snap-on, or slide-on nose pads based on the frame type
- I avoid DIY repair for cracked frames, damaged lenses, or major alignment problems
A few facts matter here: eyeglass repair screws are often about 1.0 to 1.4 mm, and many kits use #00 or #000 screwdriver tips. That small size is why screws strip so easily if the tool does not fit.
| Fix | Can I do it at home? | What I need | When I stop |
|---|---|---|---|
| Loose screw | Yes | Mini screwdriver | If the screw keeps loosening |
| Missing screw | Yes | Replacement screw, screwdriver | If threads seem worn |
| Bent arm | Yes, for slight bends | Soft cloth, warm water for plastic | If the frame looks badly twisted |
| Nose pad replacement | Yes | New pad, sometimes screwdriver | If the mount is damaged |
| Cracked frame or chipped lens | No | – | Get shop help |
In short: if the problem is small and the parts are intact, I can often fix it at home in a few minutes with a steady hand and a clean workspace.
Eyeglass Repair at Home vs. See a Professional: Quick Decision Guide
Eyeglass Repair Made Easy | Step-by-Step SnapIt Screw Tutorial | Spring Hinge & Regular
sbb-itb-5ef6ec9
Check Your Kit and Set Up a Safe Workspace
Before you start, lay out your kit and clear off a clean, well-lit workspace. That small bit of prep helps prevent scratched lenses, lost screws, and a lot of mid-repair frustration.
Identify the Tools and Replacement Parts in Your Kit
Take a minute to look through your repair kit and pull out the small parts you might need. When everything is in front of you, it’s much easier to tighten a screw or swap a nose pad without stopping halfway through to hunt for a tool.
Clean Your Glasses and Protect Small Parts
Wash your hands well before handling your glasses. If the frames are dirty, rinse them with lukewarm water and mild soap, then dry them with a microfiber cloth.
Set the glasses on a soft towel so the lenses stay protected and small parts don’t bounce away. A shallow dish also helps keep screws and nose pads in one place as you remove them. Once your kit is ready and your glasses are clean, you can move on to the loose screws.
How to Tighten or Replace Loose Screws
With your tools set out, start with the loose screws. This is usually the easiest fix.
Tighten a Loose Hinge Screw or Nose Pad Screw
Work over a soft cloth so small parts don’t bounce away. Use a precision Phillips or flathead screwdriver that fits the screw head snugly, usually #00 or #000 (about 1.0 to 1.4 mm). If the fit is off, you can strip the screw head fast.
Hold the frame steady, press the screwdriver tip into the screw head, and turn slowly clockwise. Stop as soon as the screw feels secure. If you keep turning, you can strip the threads.
Then open and close the temple arm to make sure the hinge moves smoothly. If the hinge still doesn’t feel right, move on to the missing-screw fix.
Replace a Missing Screw and Keep It in Place
If the screw is gone, line up the holes first. Then insert the replacement screw and use the right screwdriver tip from your kit to turn it gently until it’s secure.
If the same screw keeps working itself loose, put a tiny drop of low-strength threadlocker on the threads before you insert it.
Adjust Bent Frames and Replace Nose Pads
Straighten Metal and Plastic Frames Without Causing Damage
If the screws are tight but your glasses still sit crooked, the next thing to check is frame alignment. Set the glasses on a flat surface and look at them from above. If one temple arm sits higher than the other, or the frame looks twisted, you may be able to fix a small alignment issue at home.
For metal frames, wrap a soft cloth around the spot you need to adjust. Then use slow, gentle hand pressure to move the frame in the direction you want.
For plastic frames, hold the affected area under warm running water until it feels a little more flexible. Then press lightly and steadily with your fingers.
Replace Screw-In, Snap-On, or Slide-On Nose Pads
If the frame looks straight but the fit still feels wrong, the nose pads may be the problem. Start by figuring out which type your glasses use.
For screw-in pads, use a mini screwdriver to remove the old screw and pad. Place the new pad in position, then screw it in gently.
For snap-on and slide-on pads, you won’t need tools. Just remove the old pad by pressing or sliding it off, then put the new one in place.
| Screw-In | Snap-On | Slide-On | |
|---|---|---|---|
| Required Tools | Mini screwdriver, tweezers | None | None |
Extra Care for Rimless and Semi-Rimless Glasses
Rimless and semi-rimless glasses need a lighter touch. If a lens feels loose, stop there. Tighten only an easy-to-reach screw with your mini screwdriver. For anything more than that, take them in for professional help.
Conclusion: Keep Your Glasses in Good Shape and Know When to Get Help
Good repairs usually come down to three things: a clean workspace, the right tool, and small, careful adjustments. If a repair starts to feel forced, stop. Pushing too hard can snap a frame or strip a screw. And once the repair holds, a few simple habits can help it stay that way.
Store your glasses in a hard case, check the screws every week or two, and clean the lenses with lukewarm water and a microfiber cloth. Skip paper towels, clothing, and household cleaners. They can scratch lenses and wear down coatings.
If the fix doesn’t hold, or the problem affects fit or vision, don’t keep tinkering with it. Stop there. If the frame is cracked, the alignment keeps slipping, or your vision changes, it’s time to get help.
Some issues need more than a home repair kit. For frame adjustments or vision-related concerns, schedule an appointment with Eye Center of Northern Colorado.
FAQs
What if the screw size in my kit does not fit my glasses?
If the screws in your repair kit don’t fit, don’t force them. That can strip or damage the frame threads and turn a small fix into a bigger problem.
Eyewear hardware has to match with precision. If the fit is off, stop the repair and visit Eye Center of Northern Colorado. Our opticians have the right tools and the exact hardware needed to handle frame repairs and adjustments with care.
How can I tell if my frames are too damaged to fix at home?
Your frames are probably too damaged for an at-home kit if they have:
- broken parts that won’t line up
- missing screw holes or screw holes that are badly stripped
- loose screws that keep backing out
- bends that keep throwing the lenses out of alignment
If the frames feel unstable, don’t force a fix. Have an optician at Eye Center of Northern Colorado take a look and repair or replace them if needed.
How often should I check my glasses for loose screws or misalignment?
Check your glasses often for loose screws or frames that sit out of line. It’s a small habit, but it can help keep your glasses comfortable and support clear vision. A quick visual check each day can help you spot minor issues before they turn into bigger ones.
If your frames feel loose, sit crookedly, or the screws look like they’re backing out, it’s time to fix them or visit Eye Center of Northern Colorado for a professional adjustment.